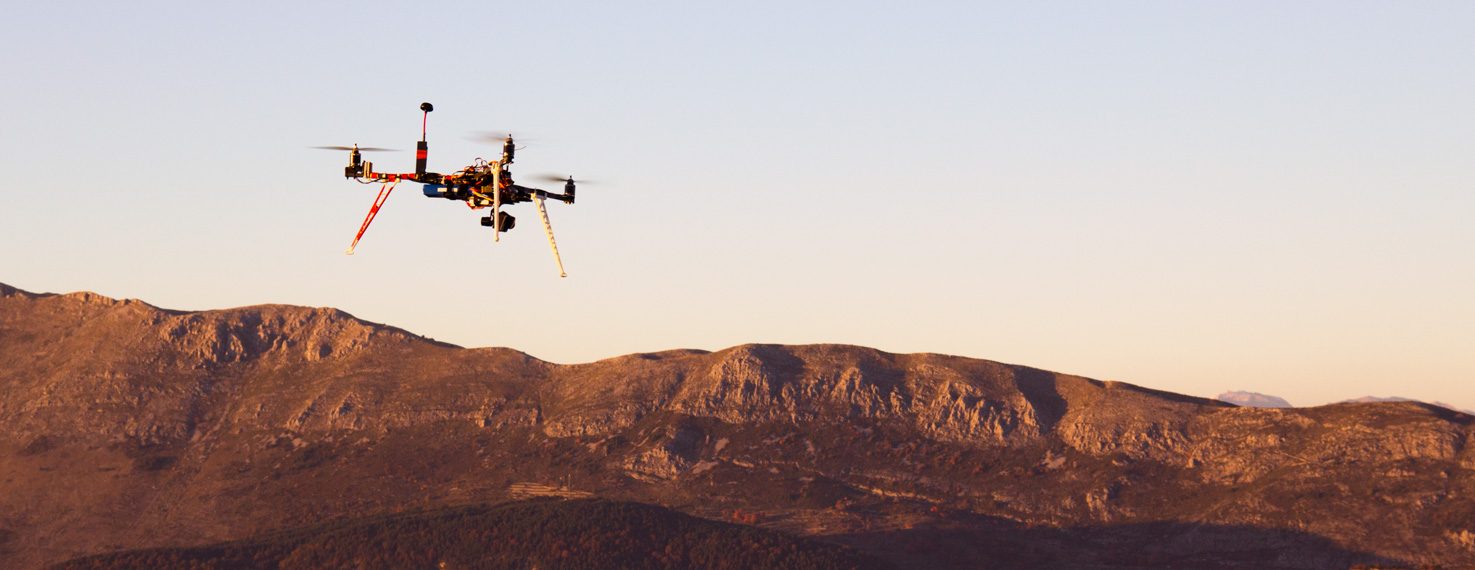
I did an autonomous mission flight using the ArduPilot “Auto mode” with my Quadcopter V1.
The drone followed a pre-programmed waypoint track while facing an “interest point”. It worked really well. There was a light wind that day. This "Auto mode" is really nice to perform precise cinematic aerial shots automatically.
Flight setup:
- Frame: Self-designed
- Flight Controller: APM 2.5 (RCTimer)
- GPS: u-Blox CN06 Plus (RCTimer)
- Motors: T-Motor MT2216-12 V2 800KV
- ESC: Favourite Littlebee 30A (BLHeli)
- Props: Graupner E-Prop 9x5
- Battery: Zippy 4S 5000mAh 20C
- RC/TX: Graupner MX-16 HoTT / GR-16
- Video TX: ImmersionRC 5.8Ghz
- Camera: GoPro 3 Black
- Gimbal: DYS Smart3
- All up weight: 1.8 Kg
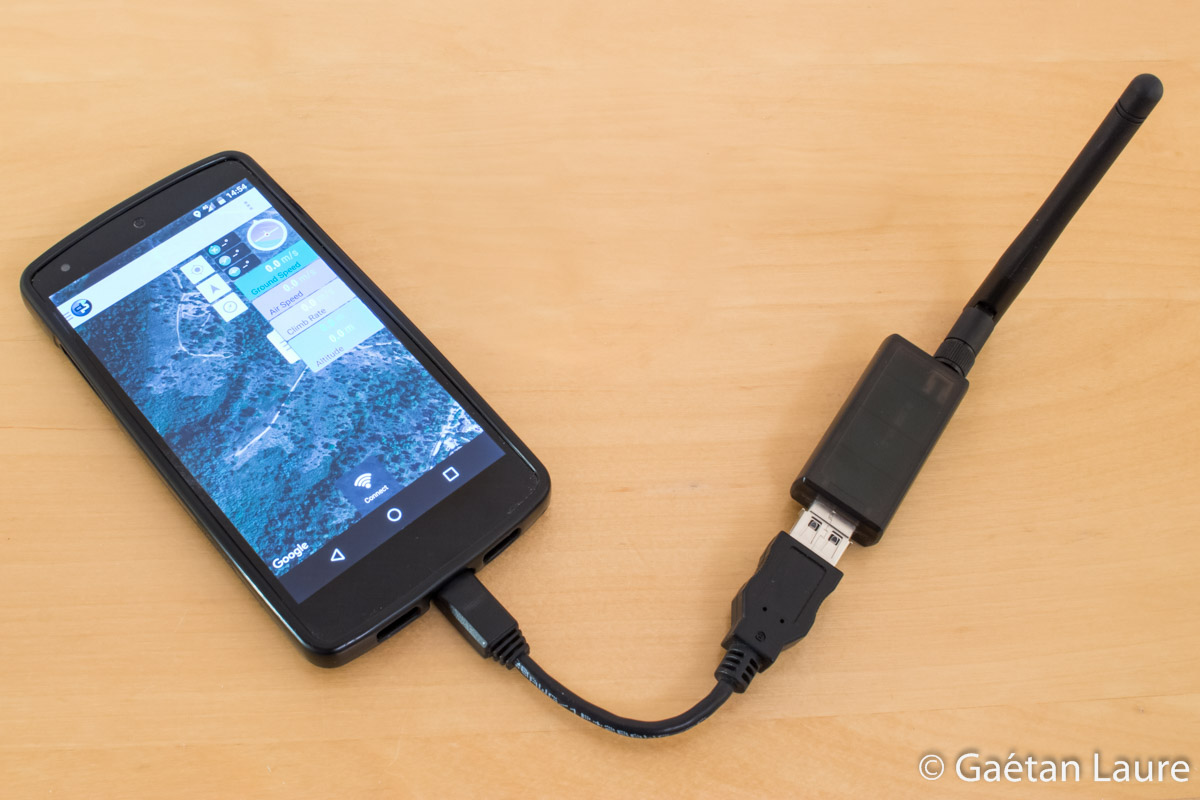
I used the DroidPlanner 2 apps on my smartphone, and this 433 MHz telemetry module (plugged using an OTG USB cable), to plan and send the mission to the drone.

This is the defined mission. The first step is the "takeoff" (1), the drone automatically takeoff and climb up to reach the programmed altitude (15 m). After that, the drone target an "interest point" (2), which is 2 meters from the ground. During all the flight, the drone keeps facing this point and orient the gimbal in order to keep this point in the center of the camera framing. The following steps are "spline waypoints" (3-11). The drone fly through these points, at an altitude of 20 meters (with respect to the takeoff position), describing a spline (enabling a smooth trajectory). To finish with, the last step is a "return to launch" (12), the drone land automatically to the takeoff position.
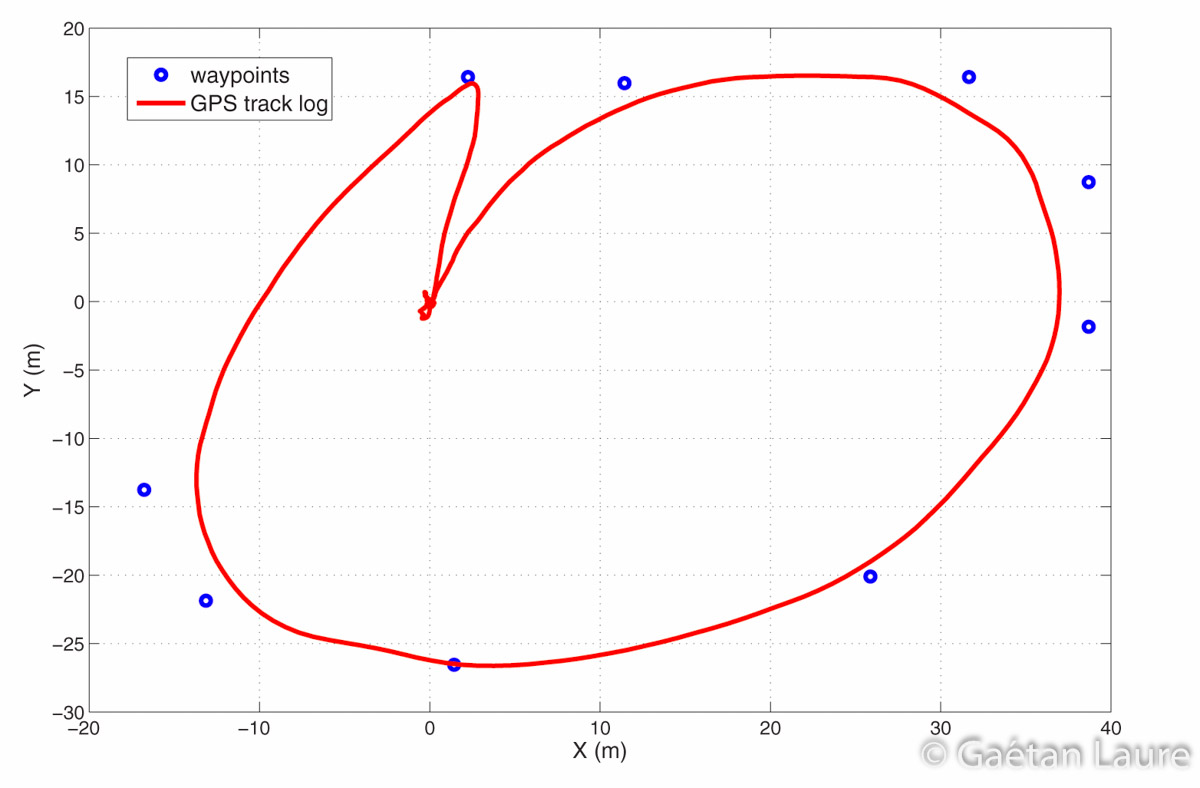
This plot shows the GPS track log (recorded on the APM during the flight) and the defined waypoints. The curve is smooth (as expected using "spline waypoints") and quite close to the waypoints. The maximum error between the GPS track and the waypoints is about 3 meters.